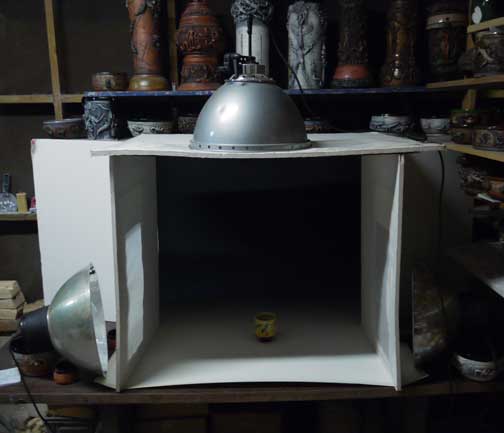
Photo setup in all it's glory.
Cheap and dirty photo setup that provides both top and side lighting.
This is made from 3 sheets of foamcore board (2 notched and folded into self-standing "L" right and left screens) with windows cut into them, and frosted acetate over the windows. I use fluorescent photo flood bulbs. Use reflectors from the photo store meant to take this kind of bulb. They stay cooler and last longer than olf tungsten photo floods.The foamcore gates not only provide diffusion and are self-standing, but also keep the light off the back of the drop for a more shadowed effect. The backdrop here is graduated from light to dark, from Adorama photo, but many places sell graduated drop. It's available from white to black or white to grey. You can use grey paper drop for a softer shadow graduation created by light only.
If your camera has an aperture setting, you would want to use that to control depth of field (how far in front and in back of the focused point is in sharp focus.) The lower the aperature number, the wider the aperature, and the shallower the depth of field. To have the front and back of your piece in focus, use a higher aperature number and focus in the middle of the piece, as the depth of field extends both in front and in back of the focal point. I try to use f16 or higher. If your camera does not have this adjustment, read the instructions about how to focus on something, and try to focus in the middle.
If you use a small aperature (which lets in a small amount of light), you will need a longer exposure time. Your camera will figure this out. This makes it harder to control camera shake and blur if handheld. DO buy an inexpensive tripod and shoot with your camera supported by a tripod.
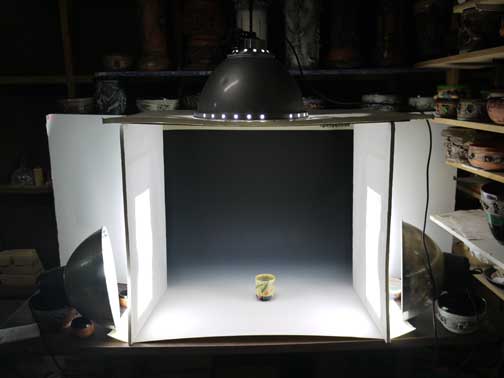
Photo setup lit.
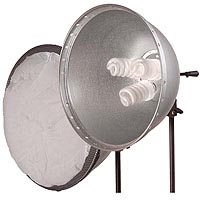
This image shows fluorescent photoflood bulbs in reflectors made for them.The reflectors have sockets for 3-4 bulbs.These days, it's much better to use fluorescent photofloods. They stay cool, the bulbs last many, many times longer, and they seem to work with the white balance of my digital camera more easily.
Try doing an internet search for "fluorescent photoflood" to find companies that sell them.
You want to make sure you put the object behind the light coming from
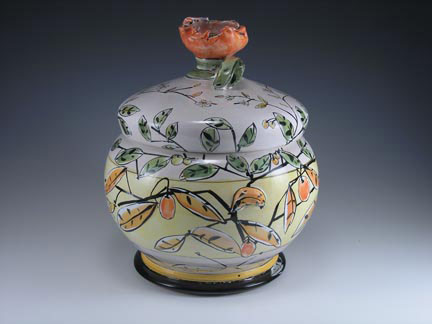
the side windows to insure that the front is illuminated. If the piece is put in the middle of the window area, the sides are lit and the middle front is dark. Example of piece that should have been set further back. Front is dark, but sides are lit.
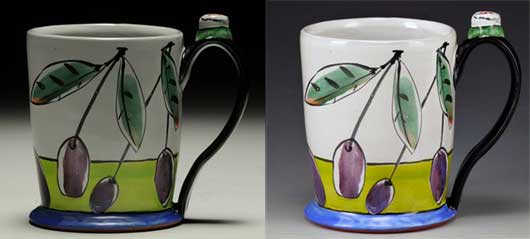
Many people use an overhead softbox only. This only works well on pieces that have upward-facing volumes, e.g. things shaped like a triangle or a pear. Cylindrical or undercut shapes will be well-lit at the top edge, but dark below any bulges. In the example left, two images of one of my cups - left taken by someone using only an overhead soft box. The top of the form is closest to properly exposed, but the most significant part of the piece is overly dark. This is a poor representation of the work. On the right, my photo taken in the setup shown above. The entire cup surface is well-lit.